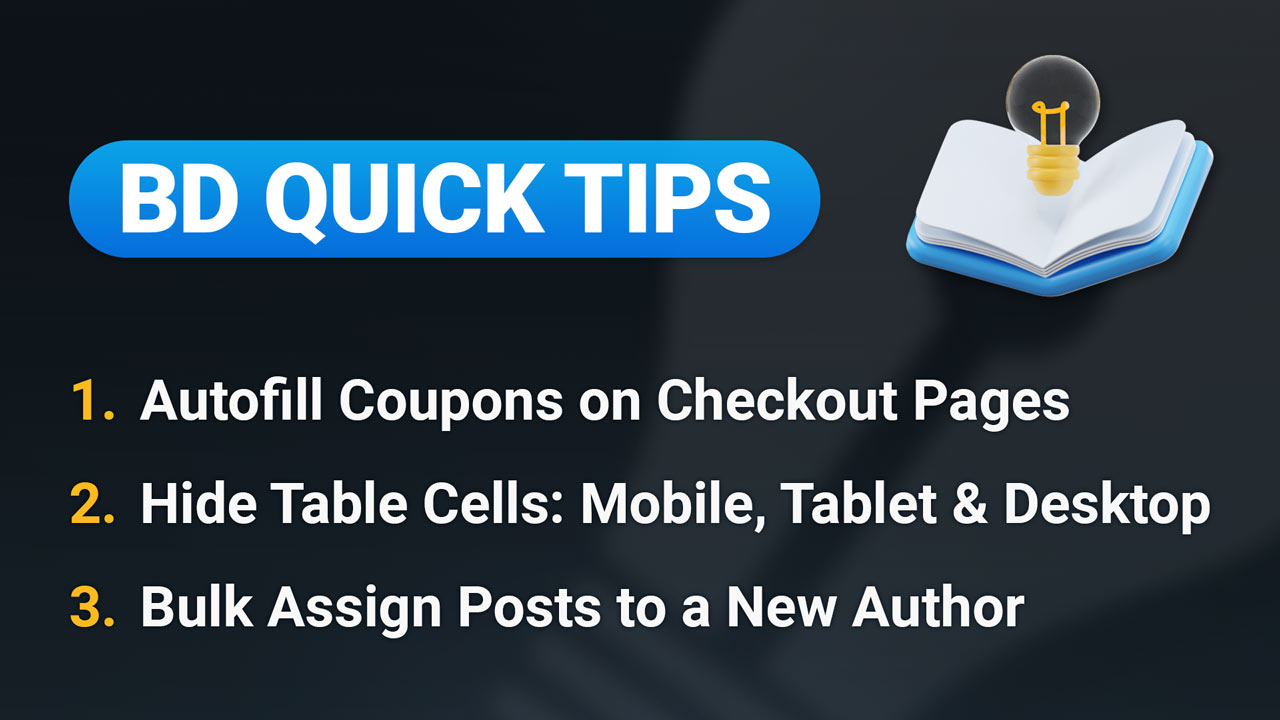
This Tip of the Week covers topics including:
- 00:00 – Introduction
- 00:51 – 1) Autofill Coupons on Checkout Pages – More Info
- 04:49 – 2) Hide Table Cells: Mobile, Tablet & Desktop
- 09:28 – 3) Bulk Assign Posts to a New Author – More Info
This is a segment from Webinar Wednesday 195, recorded live on February 15, 2025.

 AI-Generated Transcript – Please excuse any inaccuracies
1) Autofill Coupons on Checkout Pages (00:00:51)
- Autofill coupons can be applied on checkout pages by automatically adding a coupon code when a visitor visits the page, which requires the Easy Coupon add-on (00:00:51).
- To implement this feature, users need to create a coupon code or use an existing one, get the URL of a checkout page, and add the coupon code to the URL with a forward slash and a question mark, followed by “ref code equals” and the coupon code (00:01:07).
- This link can be included in email marketing campaigns, social media campaigns, or landing pages to incentivize member signups with an automated coupon code (00:01:37).
- The autofill coupon feature encourages checkout with an instant discount applied, eliminates user errors when entering coupon codes, and ensures the correct discount is applied (00:02:00).
- The Easy Coupon Codes add-on provides a coupon code section under the Finance section of the admin panel, where users can create and manage coupon codes, such as the “save 10” coupon code that gives 10% off a purchase (00:03:12).
- The add-on also provides documentation and support, including an article on applying coupon codes via URL, which explains how to add the coupon code to the end of the checkout link with a question mark and “ref code” (00:03:43).
- By using the autofill Coupon feature, users can save the step of entering a promo code, making it a great option for checkout pages where a small discount is offered, such as 5% or 10% off the retail price (00:04:20).
2) Hide Table Cells: Mobile, Tablet & Desktop (00:04:49)
- Hiding table cells on specific devices, such as mobile devices, tablets, or computer screens, is a feature that allows for control over table cell visibility without requiring any coding, and this feature is particularly useful on landing pages or informational web pages with a lot of content (00:04:50).
- The feature is available when editing web pages and is built into the WYSIWYG text editor, where users can select a cell within a table, choose the cell style option, and set the visibility for mobile, tablet, or desktop devices (00:05:05).
- This feature provides flexibility and can improve user experience by allowing for cleaner layouts on different devices, and it can be applied to a specific cell in a table or to the entire table (00:06:16).
- To use this feature, users can select the cell style option, which is one of the highlighted options in the screenshot, and then set the visibility for the desired device, and this can be done quickly without requiring any custom CSS (00:06:28).
- The feature can be used to hide or show tables or specific cells on mobile devices, tablets, or desktop computers, and it can be useful for creating a better user experience on smaller screens (00:07:03).
- Users can test the feature by creating a table and setting it to hide on desktop or mobile devices, and then checking the result on different devices or by using the mobile toggle in the Google Chrome browser (00:07:42).
- There is an article available that discusses all the actions available in the text editor, which can be a useful resource for learning more about the feature and its settings (00:09:11).
3) Bulk Assign Posts to a New Author (00:09:28)
- Bulk assigning posts to a new author is a simple process that can be done in bulk, allowing users to reassign multiple posts at the same time, which is useful in situations where the original author is no longer a member or has created a new account (00:09:31).
- To bulk assign posts, users can go to the content and manage posts section in their admin area, check off the posts they want to reassign, and then use the bulk actions dropdown to assign a new author (00:10:09).
- The bulk action feature is useful for maintaining organization of published posts, and it’s particularly helpful when a member is no longer active on the site, as it allows users to transfer ownership of posts to a new member (00:10:41).
- When deleting a member, users can choose to reassign their posts to another member, which prevents the loss of valuable content, and this can be done by selecting the “reassign post to another member” option when deleting the member’s account (00:12:29).
- The process of reassigning posts can be done by searching for posts by keyword, member’s name, or other criteria, and then selecting the posts to be reassigned, and entering the new author’s name, email address, or ID number (00:11:27).
- The bulk actions feature also includes other options, such as deleting posts, and users can find more information about managing posts and available bulk actions in a related article (00:13:25).